
Mastering Time: A Practical Guide to Building a Digital Clock with JavaScript
 remove_red_eye
201 Views
remove_red_eye
201 Views
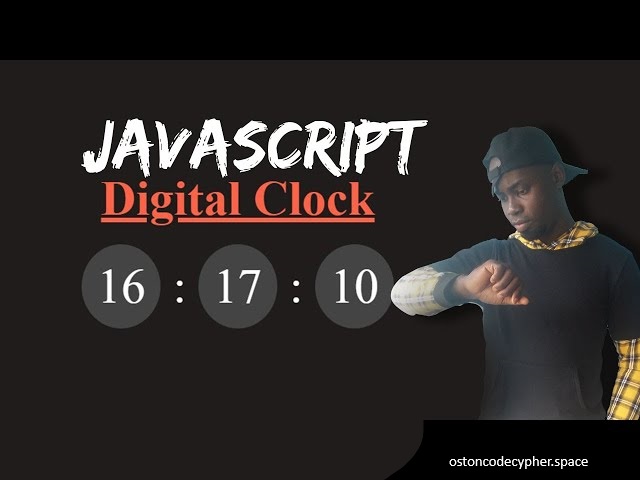
Every developer, at some point in their learning journey, needs to build a digital clock. It’s a classic project, but for good reason: it’s the perfect way to understand how the browser’s DOM works, how to manipulate dates, and most importantly how to handle real-time updates without refreshing the page.
If you’re looking to sharpen your vanilla JavaScript skills, let’s walk through how to build a dynamic digital clock from scratch.
Why Build a Digital Clock?
While it seems simple, building a functional clock touches on three essential concepts in web development:
- DOM Manipulation: Accessing elements and injecting dynamic content.
- The Date Object: Working with native JavaScript methods to fetch current time.
- Timers: Using setInterval to create a reactive user experience.
Setting the Stage: The HTML Structure
Before we touch the JavaScript, we need a simple container. Think of this as the “canvas” where our time will be painted.
<div class=”container”>
<h1>My Digital Clock</h1>
<div id=”clock”></div>
</div>
The id=”clock” is the key player here. We’ll use this to inject our time string every second.
The JavaScript Logic
To keep our application efficient, we don’t want to run our logic until the page is fully loaded. A standard practice is to listen for the DOMContentLoaded event:
document.addEventListener(‘DOMContentLoaded’, () => {
const clockDiv = document.querySelector(‘#clock’);
// Our timer function logic goes here
});
Fetching and Formatting Time
The heart of the clock is the JavaScript Date object. By creating const now = new Date();, we get access to the current hours, minutes, and seconds.
However, the raw output from new Date() isn’t ready for a display. We need to extract the parts we care about:
const hours = now.getHours();
const minutes = now.getMinutes();
const seconds = now.getSeconds();
The “Single Digit” Problem
A common mistake beginners make is ignoring formatting. If the time is 9:05:07, a raw display might show 9:5:7. To make it look professional, we want 09:05:07.
Instead of writing long if/else chains, we can use the ternary operator for a clean, one-line fix:
const formattedHours = hours < 10 ? `0${hours}` : hours;
const formattedMinutes = minutes < 10 ? `0${minutes}` : minutes;
const formattedSeconds = seconds < 10 ? `0${seconds}` : seconds;
Running the Loop
Finally, we need to update the screen every second. The setInterval function is perfect for this. It tells the browser, “Run this specific function every 1000 milliseconds.”
setInterval(() => {
// 1. Get current time
// 2. Format it
// 3. Inject into the DOM
clockDiv.innerHTML = `${formattedHours}:${formattedMinutes}:${formattedSeconds}`;
}, 1000);
Pro-Tips for Cleaner Code
- Template Literals: Use backticks (`) instead of string concatenation. It makes injecting variables like ${hours} much cleaner and more readable.
- Keep Logic Separate: While you can write your CSS inside the JS, don’t. Keep your styling in a separate .css file. Use Flexbox to center your clock elements it’s the industry standard for layout alignment.
- Avoid Over-Rendering: In more complex apps, updating the entire innerHTML every second might be expensive. For a simple clock, it’s fine, but as you grow, consider only updating the specific text nodes that actually change.
So building a digital clock is more than just a coding exercise; it’s a gateway to understanding how your site can feel “alive.” Once you master this, you’re well on your way to building more complex, data-driven interfaces.
Ready to try it yourself? Open up your code editor, grab the logic above, and start playing with the styles. Once you see the seconds ticking in the browser, you’ve officially moved from static web pages to interactive web applications.
For more coding tips and walkthroughs, check out the original tutorial here: https://youtu.be/Alv7ENnFHfc
Advertisement
Recent Posts
- Mastering Time: A Practical Guide to Building a Digital Clock with JavaScript
- How to Easily Add Live Crypto Prices to Your Website
- CSS grid vs flexbox solved: how to choose the right layout system
- How to create sticky headers and footers that work on all screens
- How to build responsive layouts using flexbox step by step